Why Sew-On Patches Still Reign Supreme
In an era where customization defines personal style, Sew On Embroidered Patches remain a favorite among creatives, fashion-lovers, and military gear enthusiasts alike. From decorating jackets and denim to upgrading backpacks and uniforms, sew-on patches offer unmatched durability and long-lasting appeal.
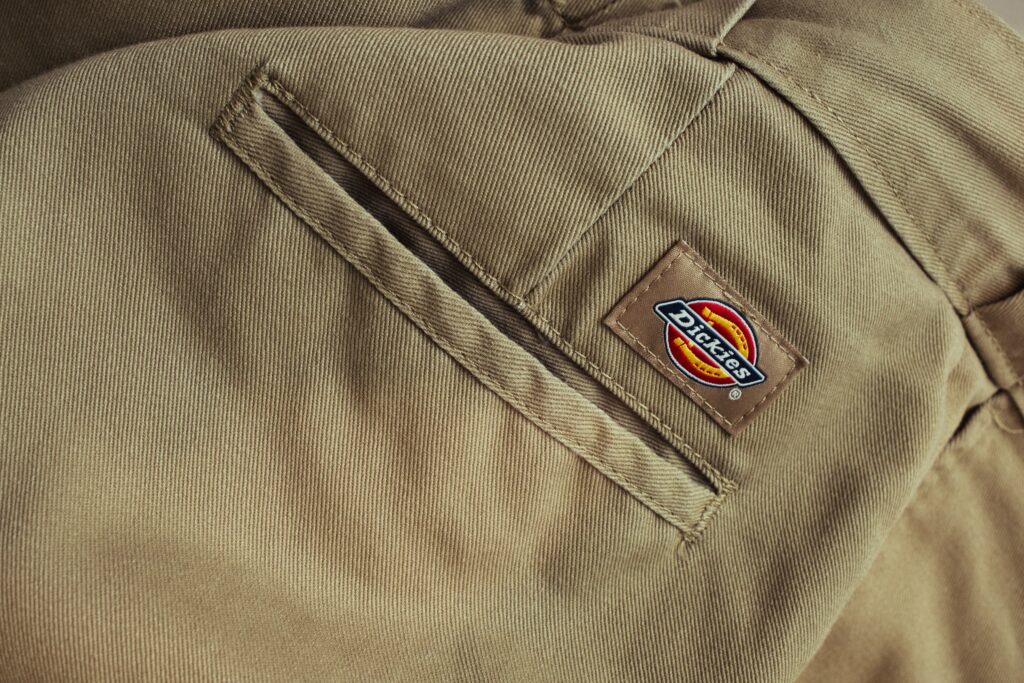
Unlike peel-and-stick or iron-on versions that wear off over time, Sew‑On Embroidered Patches offer strength and permanence. And when crafted with high-quality embroidery—like those produced by Gem Punch—they become more than just patches; they’re statements.
This guide walks you through the essentials: tools, placement techniques, hand and machine stitching, plus pro tips to keep your patch secure and looking sharp.
Tools & Materials You’ll Need
Before you start stitching, gather the right tools to ensure a clean, strong finish:
- Embroidered Patch (from trusted brands like Gem Punch)
- Garment or Accessory (denim, canvas, cotton, etc.)
- Needles: Use a denim or leather needle for thicker fabrics
- Thread: Strong polyester or heavy-duty thread in a color matching the patch edge
- Scissors
- Pins or Fabric Glue (optional for temporary placement)
- Thimble or Pliers (for pushing through thick materials)
- (Optional) Iron: To hold adhesive-backed patches in place before sewing
Placement & Preparation Tips
A patch placed poorly can ruin the look. Here’s how to get it right:
- Clean and flatten the garment surface.
- Center or align the patch carefully on the fabric. Use pins or temporary fabric glue to hold it in place.
- If your patch has an iron-on backing (like those from Gem Punch), press it lightly with an iron to stabilize—but always sew it down for permanent placement.
- Double-check positioning. A misplaced patch is hard to fix once sewn.
Stitching Techniques: Hand vs Machine
Whether you’re a DIYer or using a sewing machine, here’s how to make it last.
Hand Sewing Techniques
Best for: Small patches, delicate fabrics, curved or uneven surfaces
- Whip Stitch: Fast and easy, but a single broken stitch can cause the whole patch to lift.
- Running Stitch / Slip Stitch: Clean and subtle, ideal for casual wear.
- Backstitch: More secure and less likely to unravel.
- Blanket Stitch: Adds a decorative finish while securing the edge.
Pro Tip: Use a double-threaded needle with strong knots and pull stitches taut. A thimble or pliers can help push through thick patches.
Machine Sewing Techniques
Best for: Larger patches, flat garments, professional applications
- Use a straight stitch for a clean border or a zigzag stitch for visual flair and edge protection.
- Backstitch at the start and end to lock the thread in place.
- Choose a strong, matching thread and test on scrap fabric first.
Gem Punch Patches are crafted with consistent edge finishes that make both hand and machine sewing smooth and frustration-free.
Finishing Touches for Durability
Don’t stop once the patch is on—finishing matters just as much:
- Secure all knots on the garment’s interior.
- Trim loose threads immediately to avoid fraying.
- Use fray check or a dense zigzag stitch to reinforce the patch edge.
- For handmade patches or loose weaves, a buttonhole stitch or edge-binding method is ideal.
- After several washes, inspect the patch and apply a few extra stitches if needed.
Patches from Gem Punch are designed for longevity, even with frequent wear and washing.
Expert Tips from Gem Punch Pros
- Blend your thread with the patch edge color for invisible stitches.
- Always practice on scrap fabric if you’re new to sewing patches.
- For heavy-duty use—like military or tactical gear—use thicker threads and double stitching.
- Check out morale patches from Gem Punch for high-impact applications with rugged design and finish.
- Need help designing your own? Use Gem Punch’s free digital proof service before you order custom patches.
Hand vs Machine: Which Should You Choose?
| Feature | Hand Sewing | Machine Sewing |
| Best For | Small patches, delicate fabrics | Large patches, professional looks |
| Flexibility | High – navigate curves easily | Limited – best on flat areas |
| Time | Slower | Faster |
| Stitch Strength | Moderate – varies by technique | High – uniform tension & strength |
Gem Punch recommends using a hybrid method: Machine sew for strength, then hand-finish for detail or reinforcement.
Sew with Confidence
Sew‑On Embroidered Patches is easier than it looks—and the result is worth it. Whether you’re customizing jackets, caps, backpacks, or uniforms, you can count on durability, style, and personalization with sew-on patches.
For high-quality, edge-stitched, custom Sew‑On Embroidered Patches, trust the experts at Gem Punch. With premium materials, iron-on options, no-minimum orders, and pro design support, your next patch project is already a success.
Frequently Asked Questions
How do I sew on an embroidered patch so it doesn’t come off?
Use a strong thread, double-knot your stitches, and always sew completely around the edge of the patch.
What stitch is best for denim patches?
A backstitch or machine zigzag works best for denim to secure thick edges.
Can I sew an iron-on patch?
Yes! In fact, it’s highly recommended. Ironing only holds temporarily; stitching makes it permanent.
What kind of needle should I use for tough fabrics?
Use a leather or denim needle for thick fabric and patches.
How do I prevent patch edges from fraying?
Apply a zigzag machine stitch or use fray check around the border.