The Art and Science behind Custom Patches
How Custom Patches Are Made; Custom patches are more than just fabric and thread—they’re wearable stories. Whether for branding, military units, or fashion statements, each patch starts as an idea and evolves into a tangible emblem through precision craftsmanship. At GEMPUNCH, we’ve mastered this blend of creativity and technology. Here’s how it’s done.
Step 1: Designing Your Patch
Where Creativity Meets Strategy
The journey begins with a vision. A great patch design balances aesthetics and functionality:
Vector Art: Use tools like Adobe Illustrator to create crisp, scalable designs.
Color Palette: Limit colors to 6–8 for embroidery clarity.
Size & Shape: Standard patches are 2–4 inches, but custom shapes (circles, shields, die-cuts) stand out.
Pro Tip: Add texture with 3D foam or metallic thread for luxury appeal.
Step 2: Digitizing the Design
Translating Art into Machine Language
Digitizing converts your design into a file embroidery machines understand. Key considerations:
Stitch Types: Satin stitches (for borders) vs. fill stitches (for backgrounds).
Underlay: Stabilizes fabric to prevent puckering.
Thread Density: Too dense = stiff patches; too light = fraying.
Actionable Advice: Work with a digitizing expert (like GEMPUNCH) to avoid costly errors.
Step 3: Choosing Materials
Fabric, Thread, and Backing Options
Fabric: Twill (most common), felt, or eco-friendly options like organic cotton.
Thread: Polyester (durable) or rayon (shiny finish).
Backing: Iron-on, Velcro®, or sew-on for versatility.
Trend Alert: Biodegradable PVC and recycled threads are booming for eco-conscious brands.
Step 4: Production Techniques
Embroidery, Woven, or PVC?
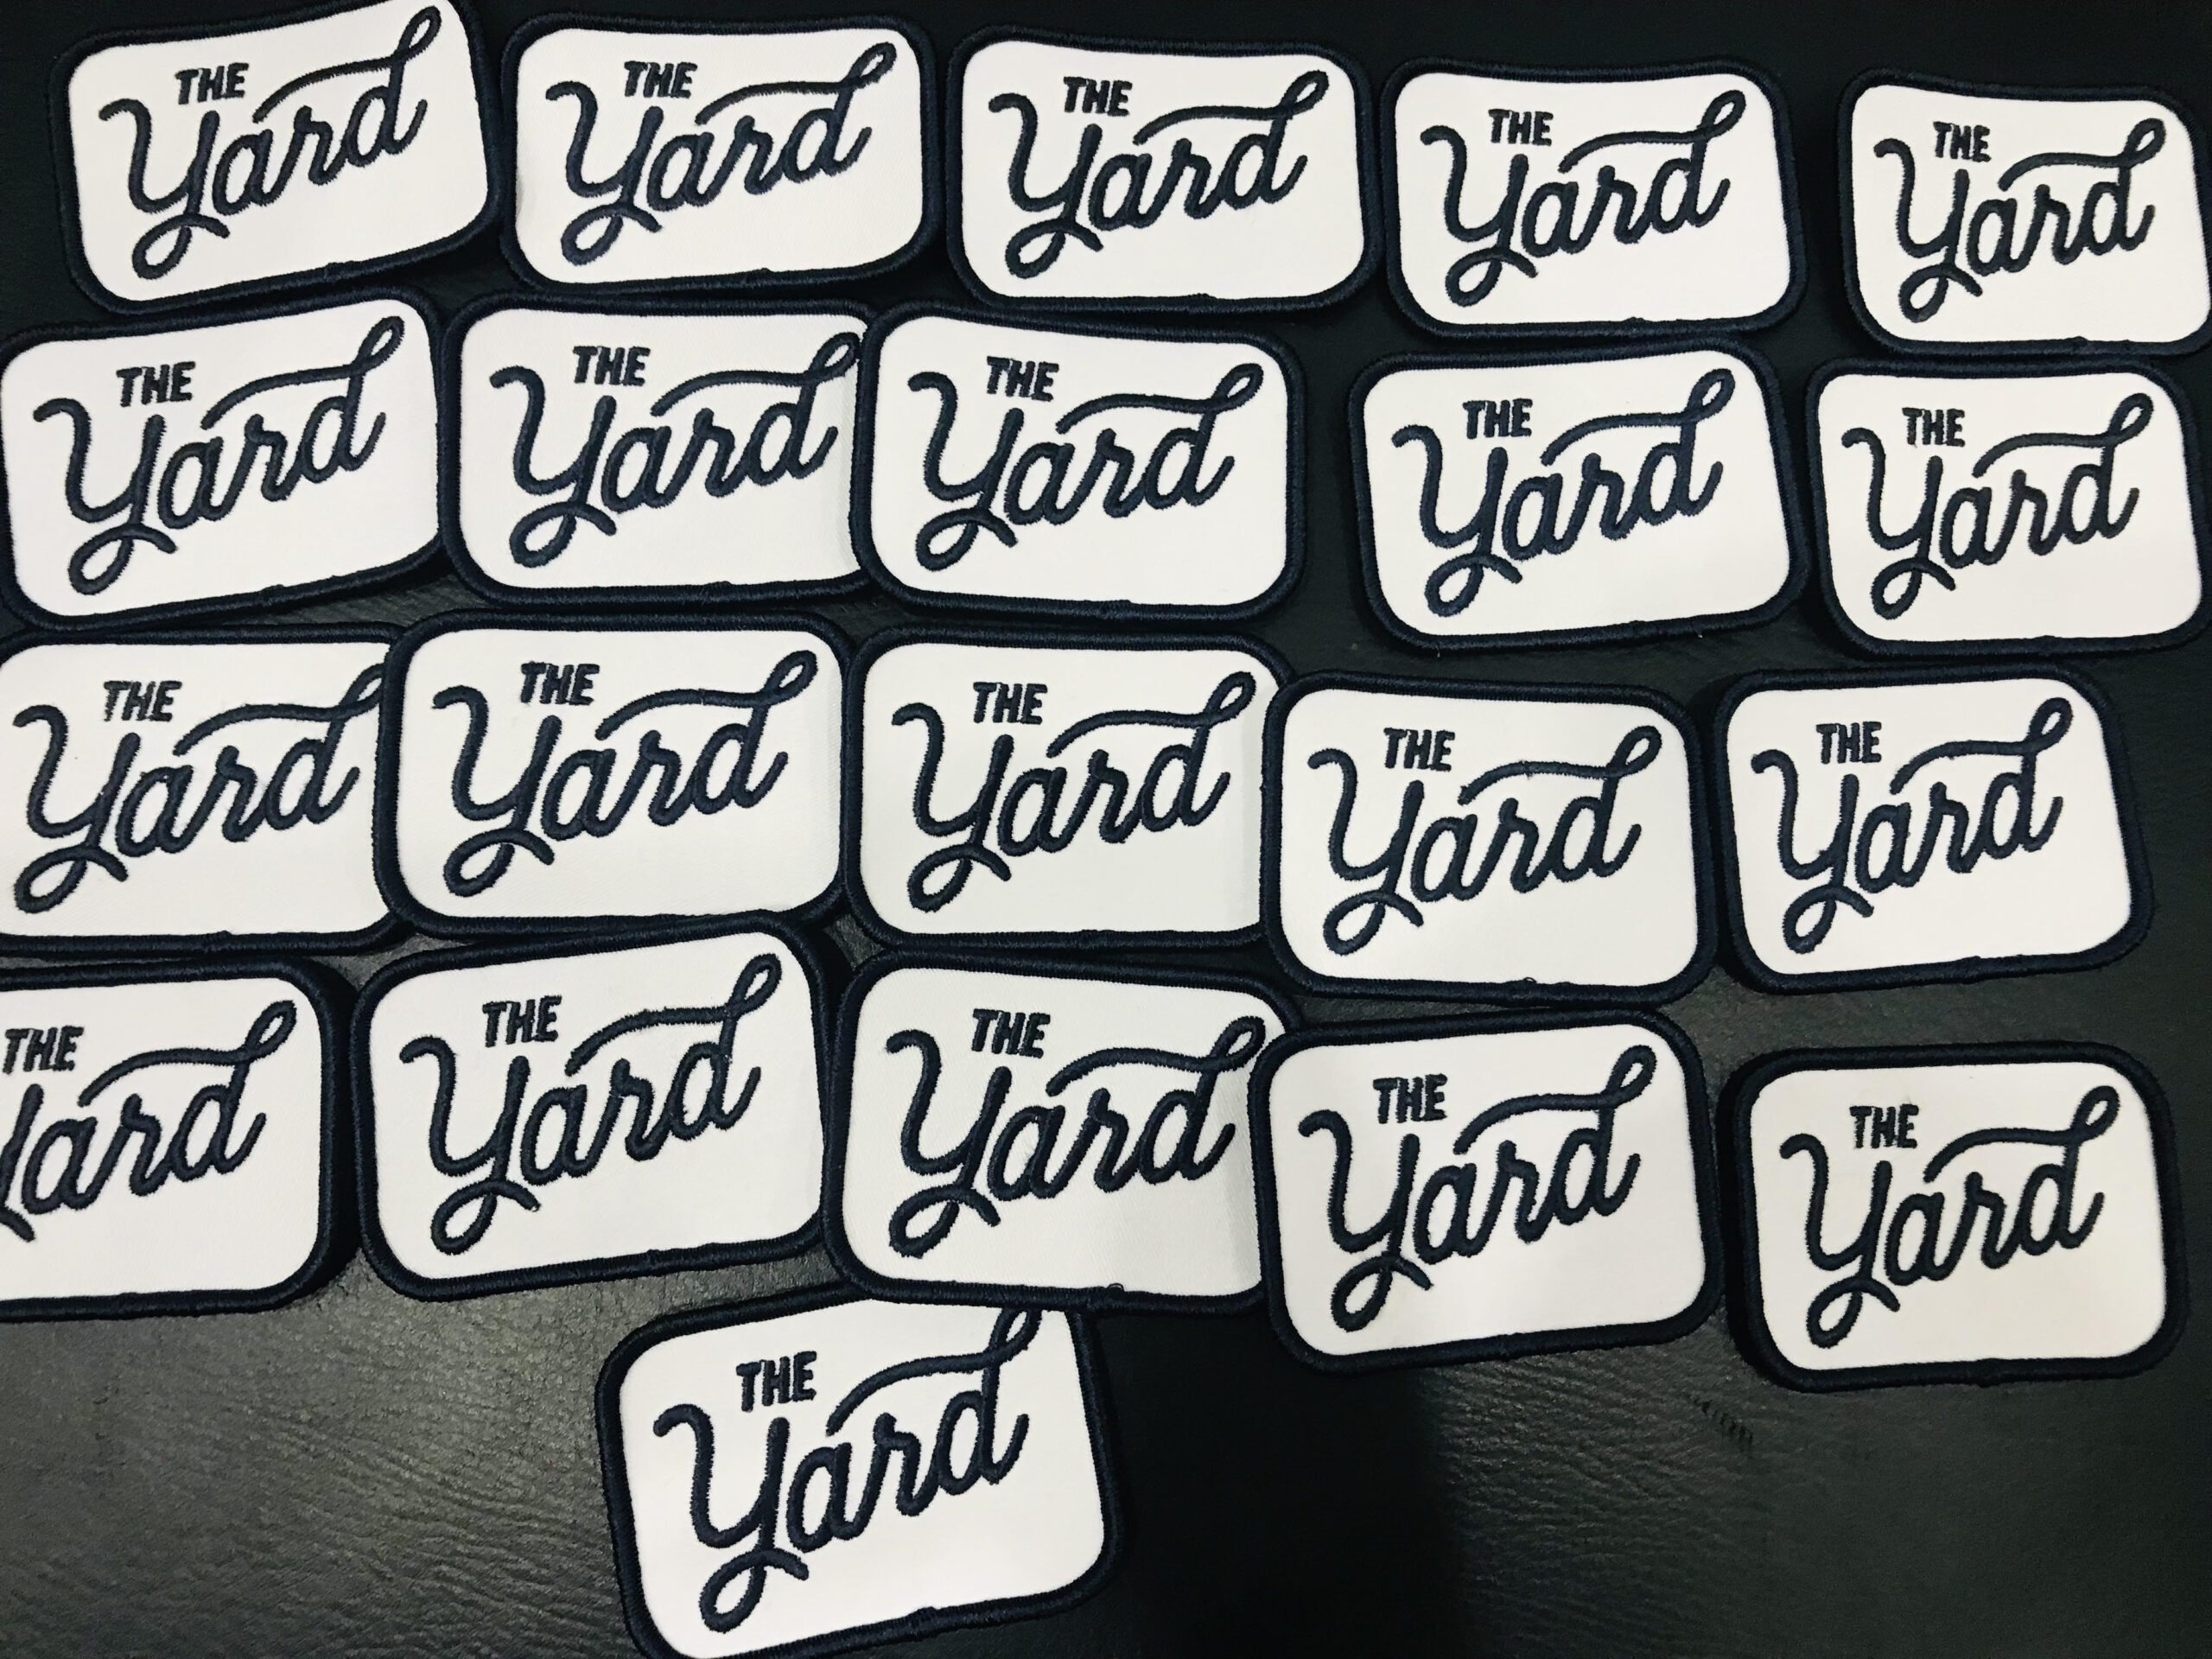
Embroidered Patches
Process: Layers of thread stitched onto fabric, cut with merrowed edges.
Best For: Bold logos, military patches, and vintage vibes.
Woven Patches
Process: Fine threads woven tightly for intricate details (e.g., text).
Best For: Small designs with gradients.
PVC Patches
Process: Molded rubber-like material for 3D effects.
Best For: Durability (ideal for outdoor gear).
Did You Know? GEMPUNCH offers glow-in-the-dark and reflective patches for tactical or safety uses.
Step 5: Quality Control & Finishing
The Final Polish
Inspection: Check for loose threads, color mismatches, or alignment issues.
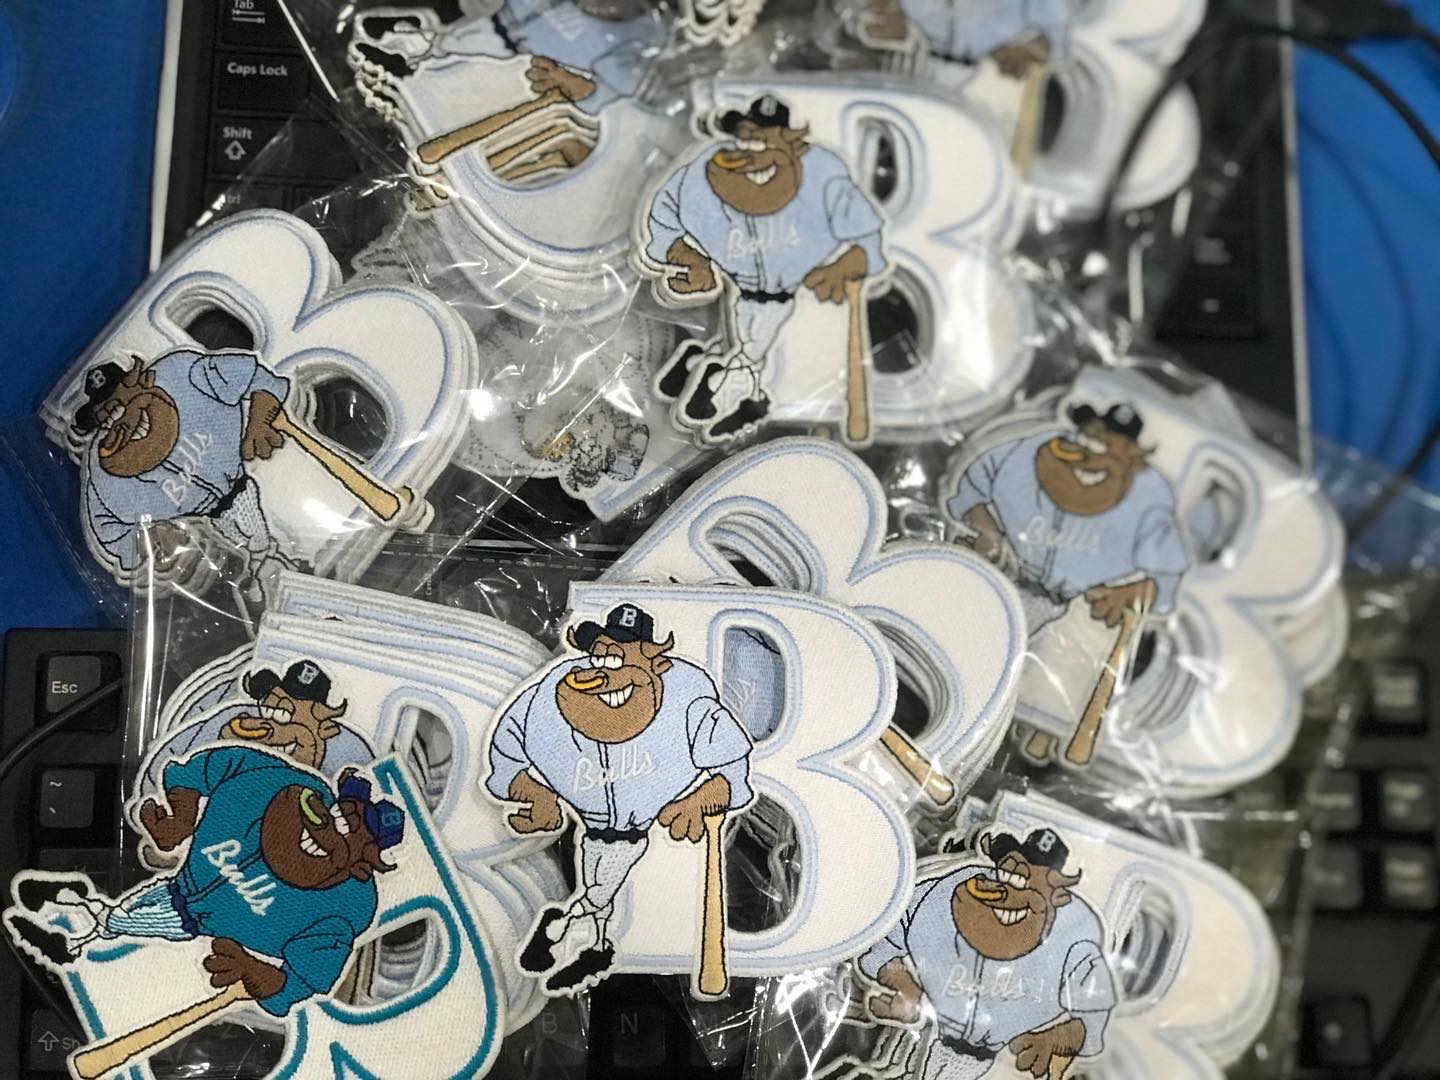
Cutting: Laser-cut edges for precision shapes.
Packaging: Individually wrapped or bulk batches.
GEMPUNCH Guarantee: Every patch undergoes a 3-step quality check before shipping.
Trends Shaping Custom Patch Production
Innovations to Watch
Smart Patches: Embed NFC chips for interactive branding.
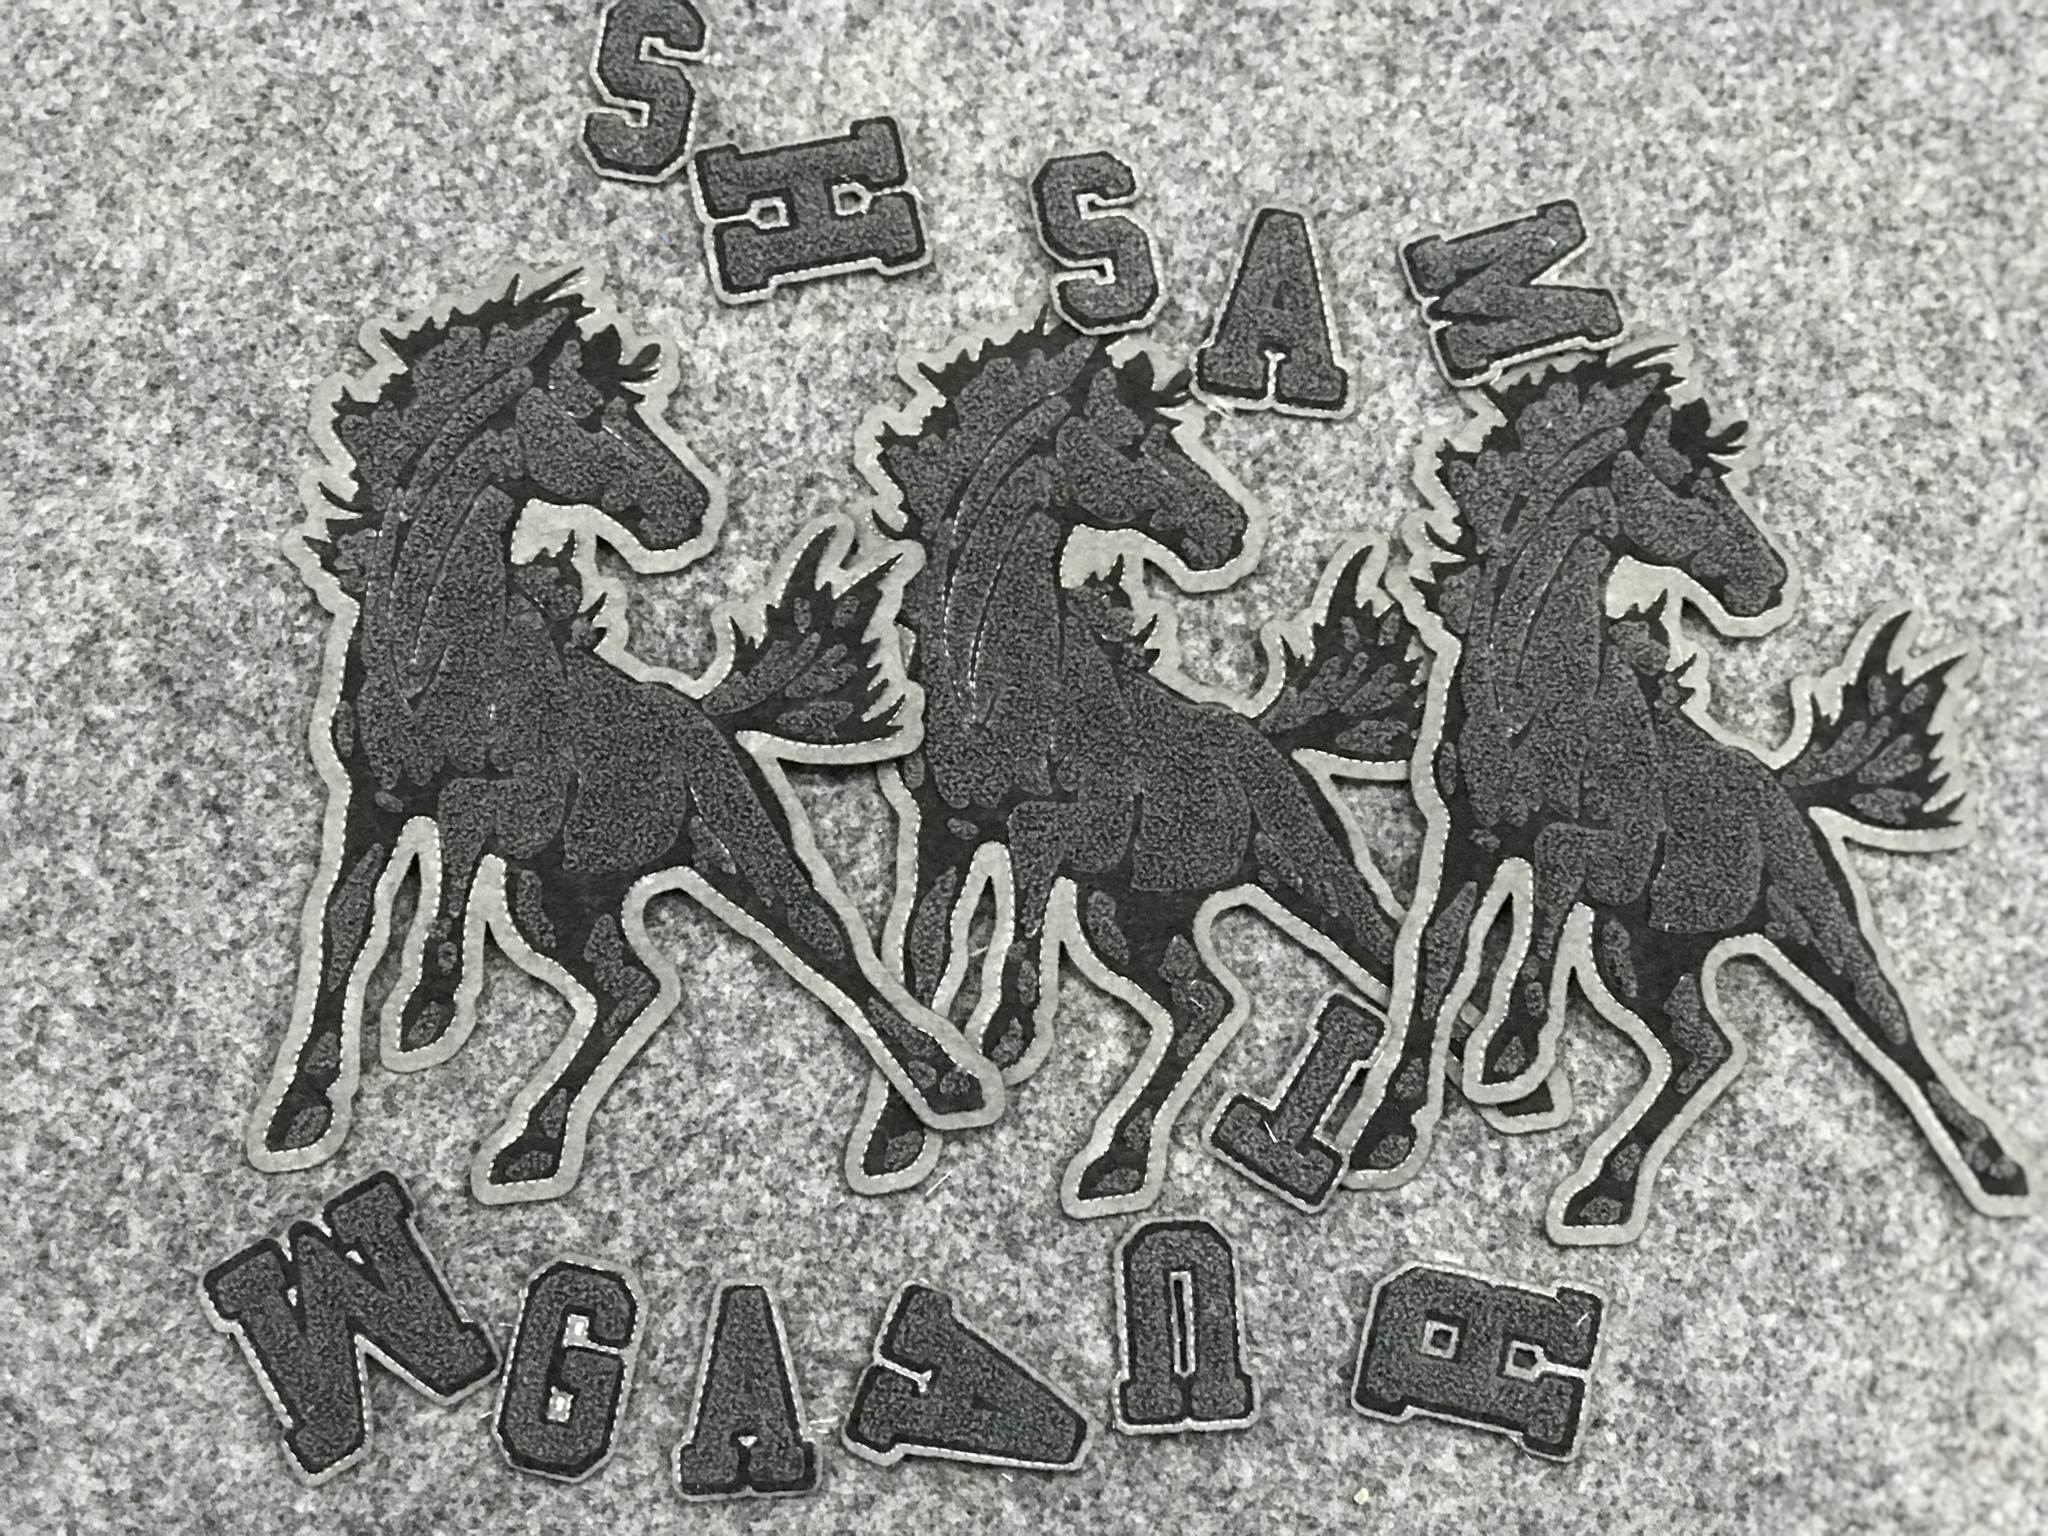
Vintage Revival: Distressed embroidery for retro aesthetics.
Mini Patches: Tiny designs (1-inch) for subtle flair on collars or hats.
Why Custom Patches Matter
Beyond Aesthetics
Brand Loyalty: Patches turn customers into walking billboards.
Durability: Outlast stickers and prints.
Versatility: Promote causes, commemorate events, or unify teams.
Ready to Bring Your Design to Life?
Custom patches blend artistry and engineering to create lasting impressions. At GEMPUNCH, we handle every step—from your sketch to a flawless final product.
Frequently Asked Questions
- How long does it take to make custom patches?
Typically 2–3 weeks, including design approval and production.
- What’s the minimum order quantity (MOQ)?
At GEMPUNCH, MOQ starts at 50 patches—perfect for small businesses.
- Can I use Pantone colors?
Yes! We match Pantone codes for exact brand consistency.
- Are PVC patches waterproof?
Absolutely—ideal for outdoor gear or uniforms.
- How do I apply patches?
Iron-on, sewing, or Velcro®. How to Apply Patches: A Complete Guide