Adding patches to shirts is a timeless way to refresh your style, showcase your passions, or breathe new life into worn-out clothing. Whether you’re a DIY enthusiast or a first-timer, this guide will walk you through how to iron a patch on a shirt like a pro.
Transform your wardrobe with GemPunch’s premium patches—no sewing required!

Why Iron Patches on Shirts?
Iron-on patches are a quick, no-fuss solution for personalizing your wardrobe. Perfect for:
Expressing individuality: Show off your favorite designs, from retro motifs to modern art.
Repurposing old shirts: Cover stains, holes, or outdated logos.
Creating cohesive looks: Ideal for team uniforms, events, or gifts.
At GemPunch, we offer vibrant, durable iron-on patches designed to stay put wash after wash.
Ready to customize? Let’s dive in!
Types of Patches for Shirts
Not all patches are created equal! Here’s a quick breakdown:
Iron-On Patches: Heat-activated adhesive for easy application (perfect for beginners).
Embroidered Patches: Textured designs that add depth; ideal for casual or statement looks.
Chenille Patches: Soft, retro-style patches great for jackets and tees.
PVC Patches: Waterproof and flexible; excellent for outdoor gear or athletic wear.
Pro Tip: Explore GemPunch’s curated collections for designs that match your vibe!
What You’ll Need
- Shirt: Pre-washed and dried (to prevent post-application shrinkage).
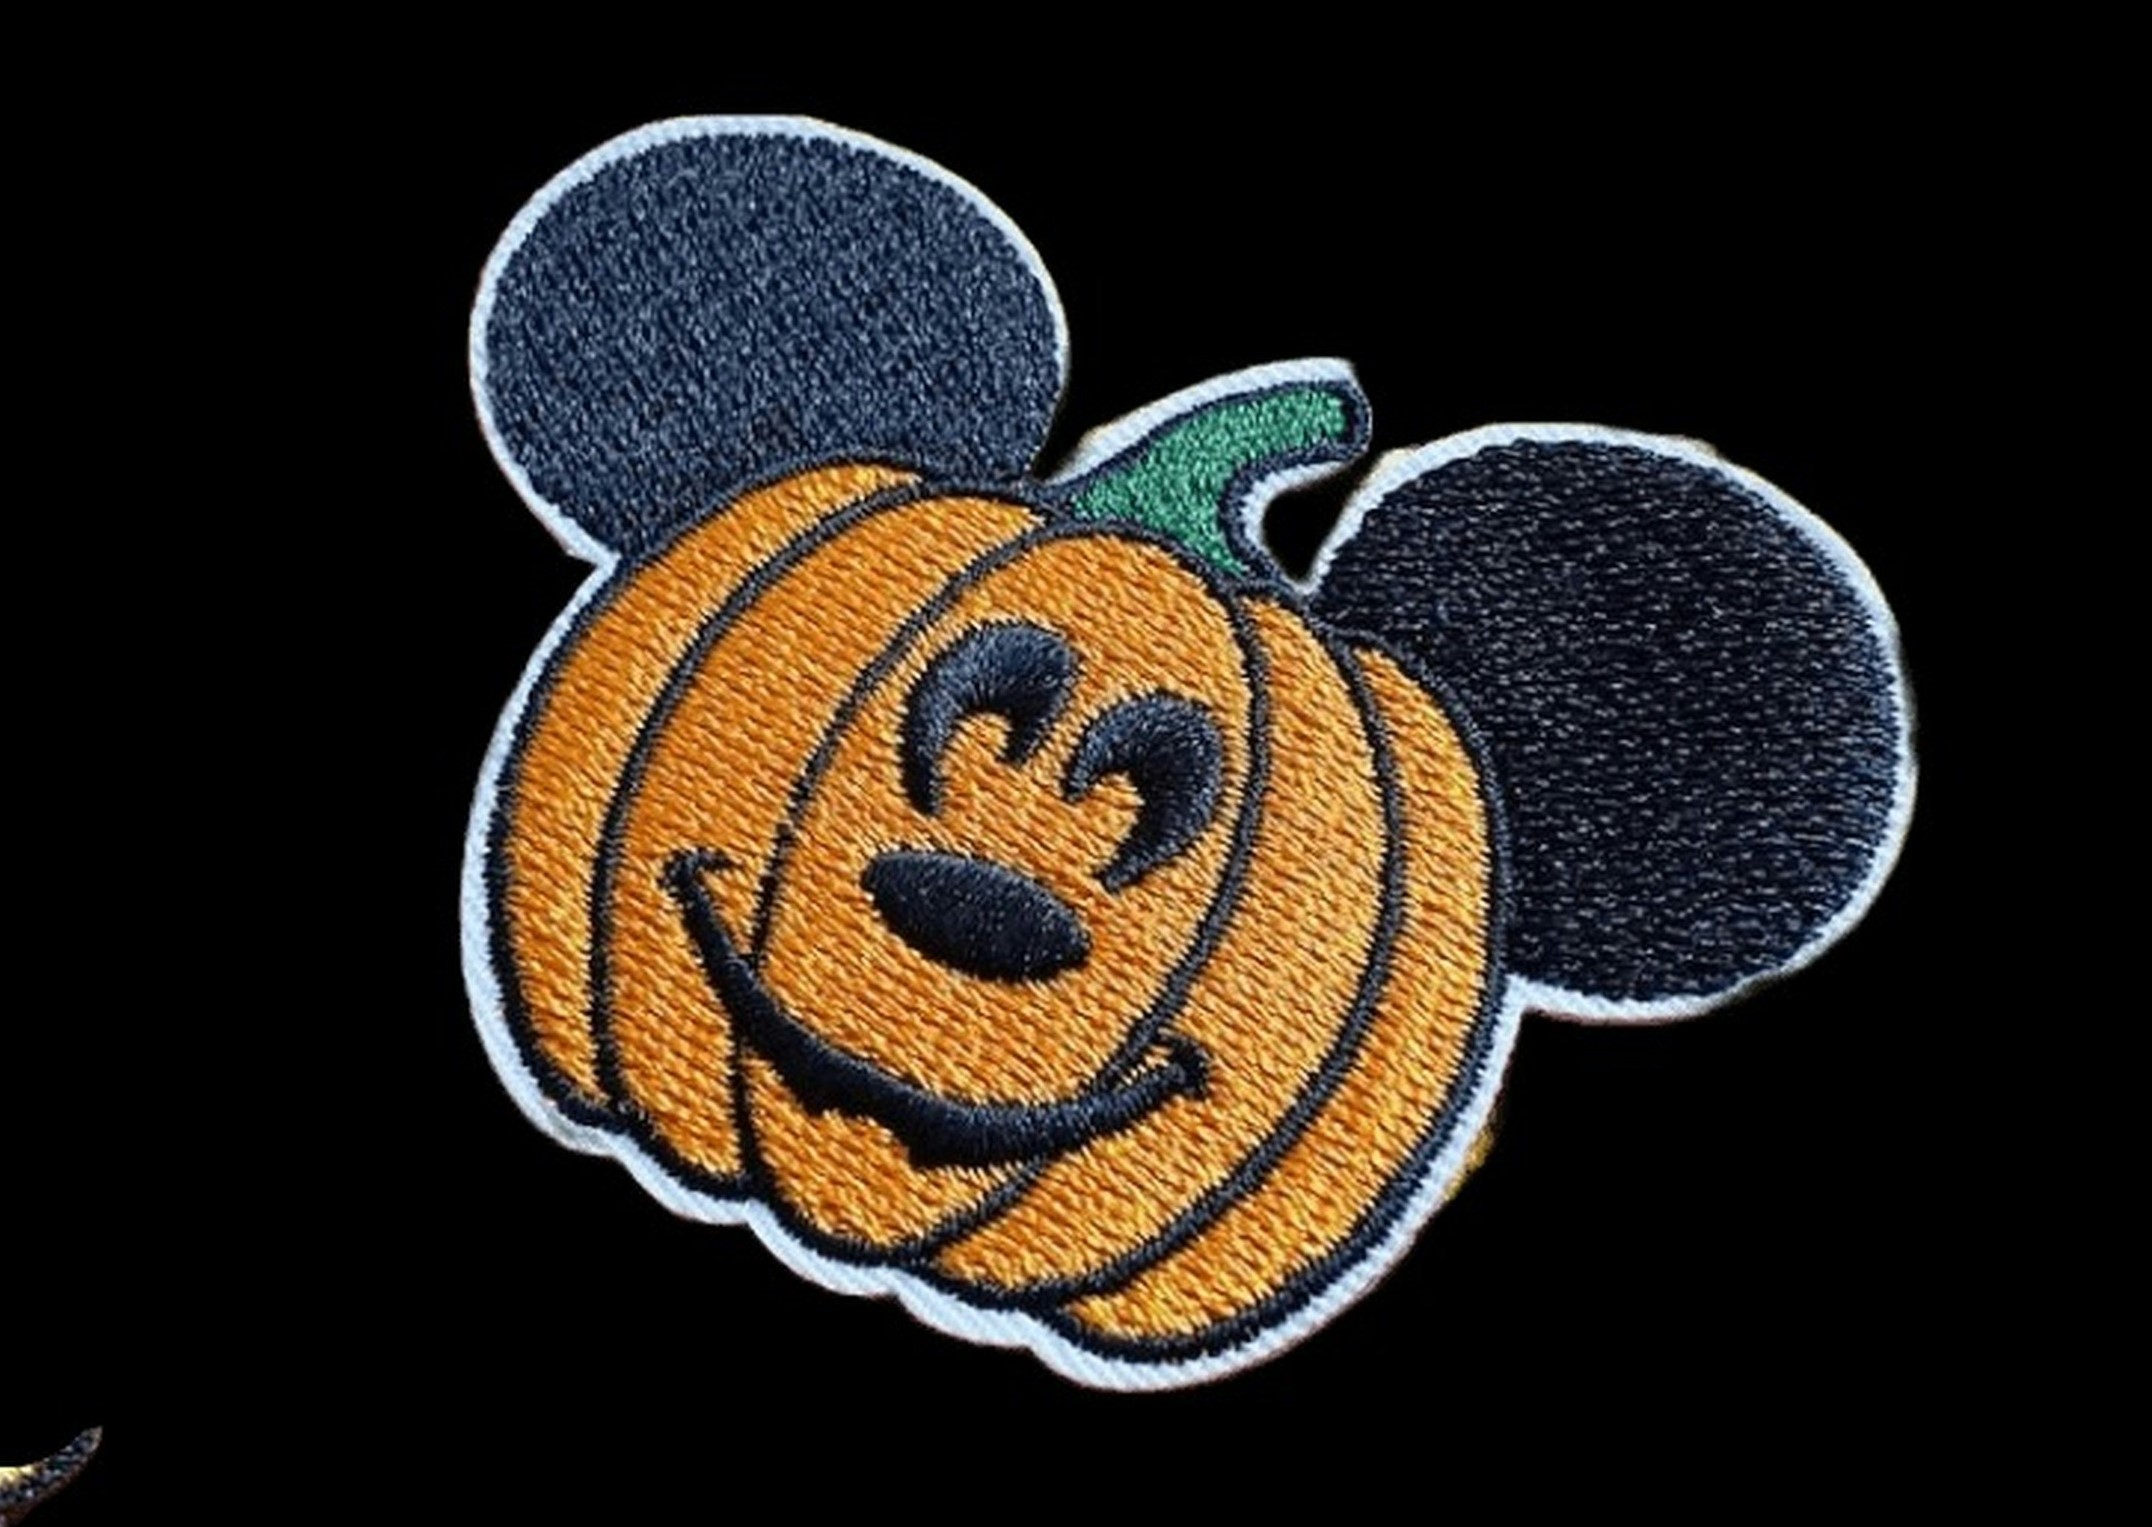
- Iron-On Patch: Choose from GemPunch’s selection of patches).
- Household Iron: No steam function needed.
- Pressing Cloth: Thin cotton fabric or parchment paper.
- Ironing Board or flat, heat-resistant surface.
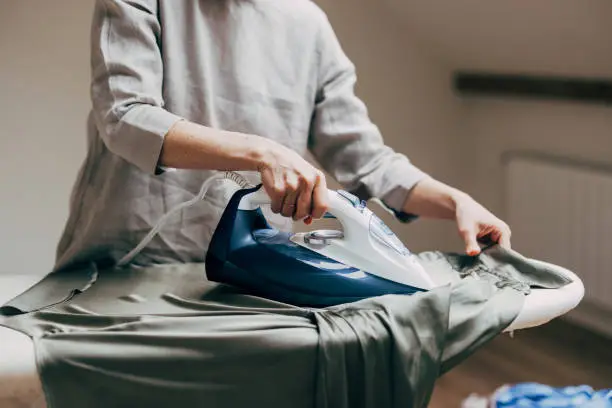
Step-by-Step: How to Iron a Patch on a Shirt
- Prep Your Shirt
Wash and dry the shirt (skip fabric softener to avoid residue).
Lay it flat on the ironing board, smoothing out wrinkles.
- Position the Patch
Place the patch adhesive-side down on the desired spot. Use sewing pins or heat-resistant tape to secure it.
For symmetry, measure distances from seams or collars.
- Heat the Iron
Set your iron to the highest heat setting (check the shirt’s care label for fabric compatibility).
Turn off the steam function.
- Protect with a Pressing Cloth
Cover the patch with a pressing cloth to prevent scorching.
- Apply Heat and Pressure
Press the iron firmly over the patch for 30–45 seconds, using circular motions to cover edges.
Flip the shirt inside-out and repeat on the reverse side.
- Cool and Test
Let the patch cool completely (10–15 minutes).
Gently tug the edges to test adhesion. If loose, reapply heat.
For Extra Security: Stitch the patch’s perimeter with a needle and thread.
Special Tips for Different Patch Types
Embroidered Patches: Use extra pressure to ensure threads bond with the fabric.
PVC Patches: Avoid overheating—brief, firm presses work best.
Chenille Patches: Place a thin cloth over fuzzy surfaces to prevent flattening.
Pro Tips for Longevity
Wash Inside-Out: Protects patches from friction.
Air-Dry: Skip the dryer to preserve adhesive integrity.
Reinforce High-Stress Areas: Add a few stitches to corners if the shirt is frequently worn.
Common Mistakes to Avoid
- Skipping the Pressing Cloth: Direct heat can melt adhesive or damage delicate fabrics.
- Rushing the Cooling Phase: Adhesion weakens if tested too soon.
- Ignoring Fabric Compatibility: Avoid ironing patches onto silk, rayon, or sheer materials.
Fun Ways to Style Patched Shirts
Revive Plain Tees: Add a bold patch to the chest or sleeve.
Elevate Denim Shirts: Use vintage-inspired patches on collars or pockets.
Create a Theme: Mix and match patches for a cohesive story (e.g., band logos, travel motifs).
Why Choose GemPunch Patches?
At GemPunch, we craft high-quality, fade-resistant patches with crisp details and strong adhesive. Whether you’re into minimalist designs or bold statements, our collections cater to every style. Plus, our patches are:
Easy to Apply: Follow our guide for flawless results.
Durable: Survive washes and wear without peeling.
Versatile: Perfect for shirts, jackets, bags, and more!
Final Thoughts
Ironing a patch onto a shirt is an easy, rewarding way to express yourself. With GemPunch’s premium patches and this guide, you’ll create eye-catching designs that last.
Ready to start? Get a Quote and let your creativity shine!
FAQs About Ironing Patches on Shirts
- Can I iron a patch onto a polyester shirt?
Yes! Polyester works well, but use a pressing cloth and avoid exceeding the fabric’s heat tolerance.
- How do I remove an iron-on patch?
Heat the patch with an iron, then gently peel it off. Use rubbing alcohol to remove leftover adhesive.
- Can I use a hair straightener instead of an iron?
Absolutely! Clamp the straightener over the patch for 30 seconds (cover with parchment paper first).
- Why is my patch peeling after washing?
High heat or agitation can weaken adhesion. Always wash inside-out on a gentle cycle and air-dry.
- Do GemPunch patches work on hats or bags?
Yes! Our patches adhere to most fabrics, including cotton, denim, and nylon.