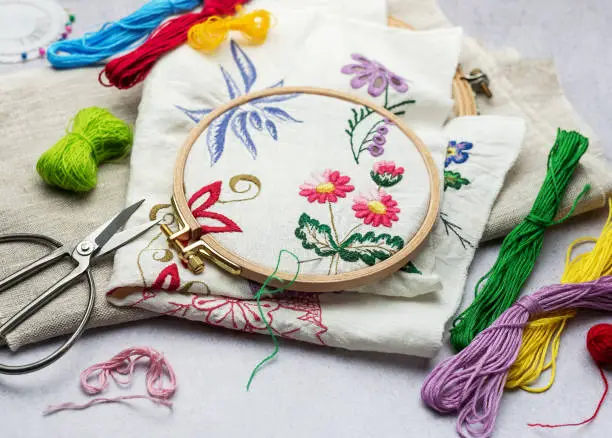
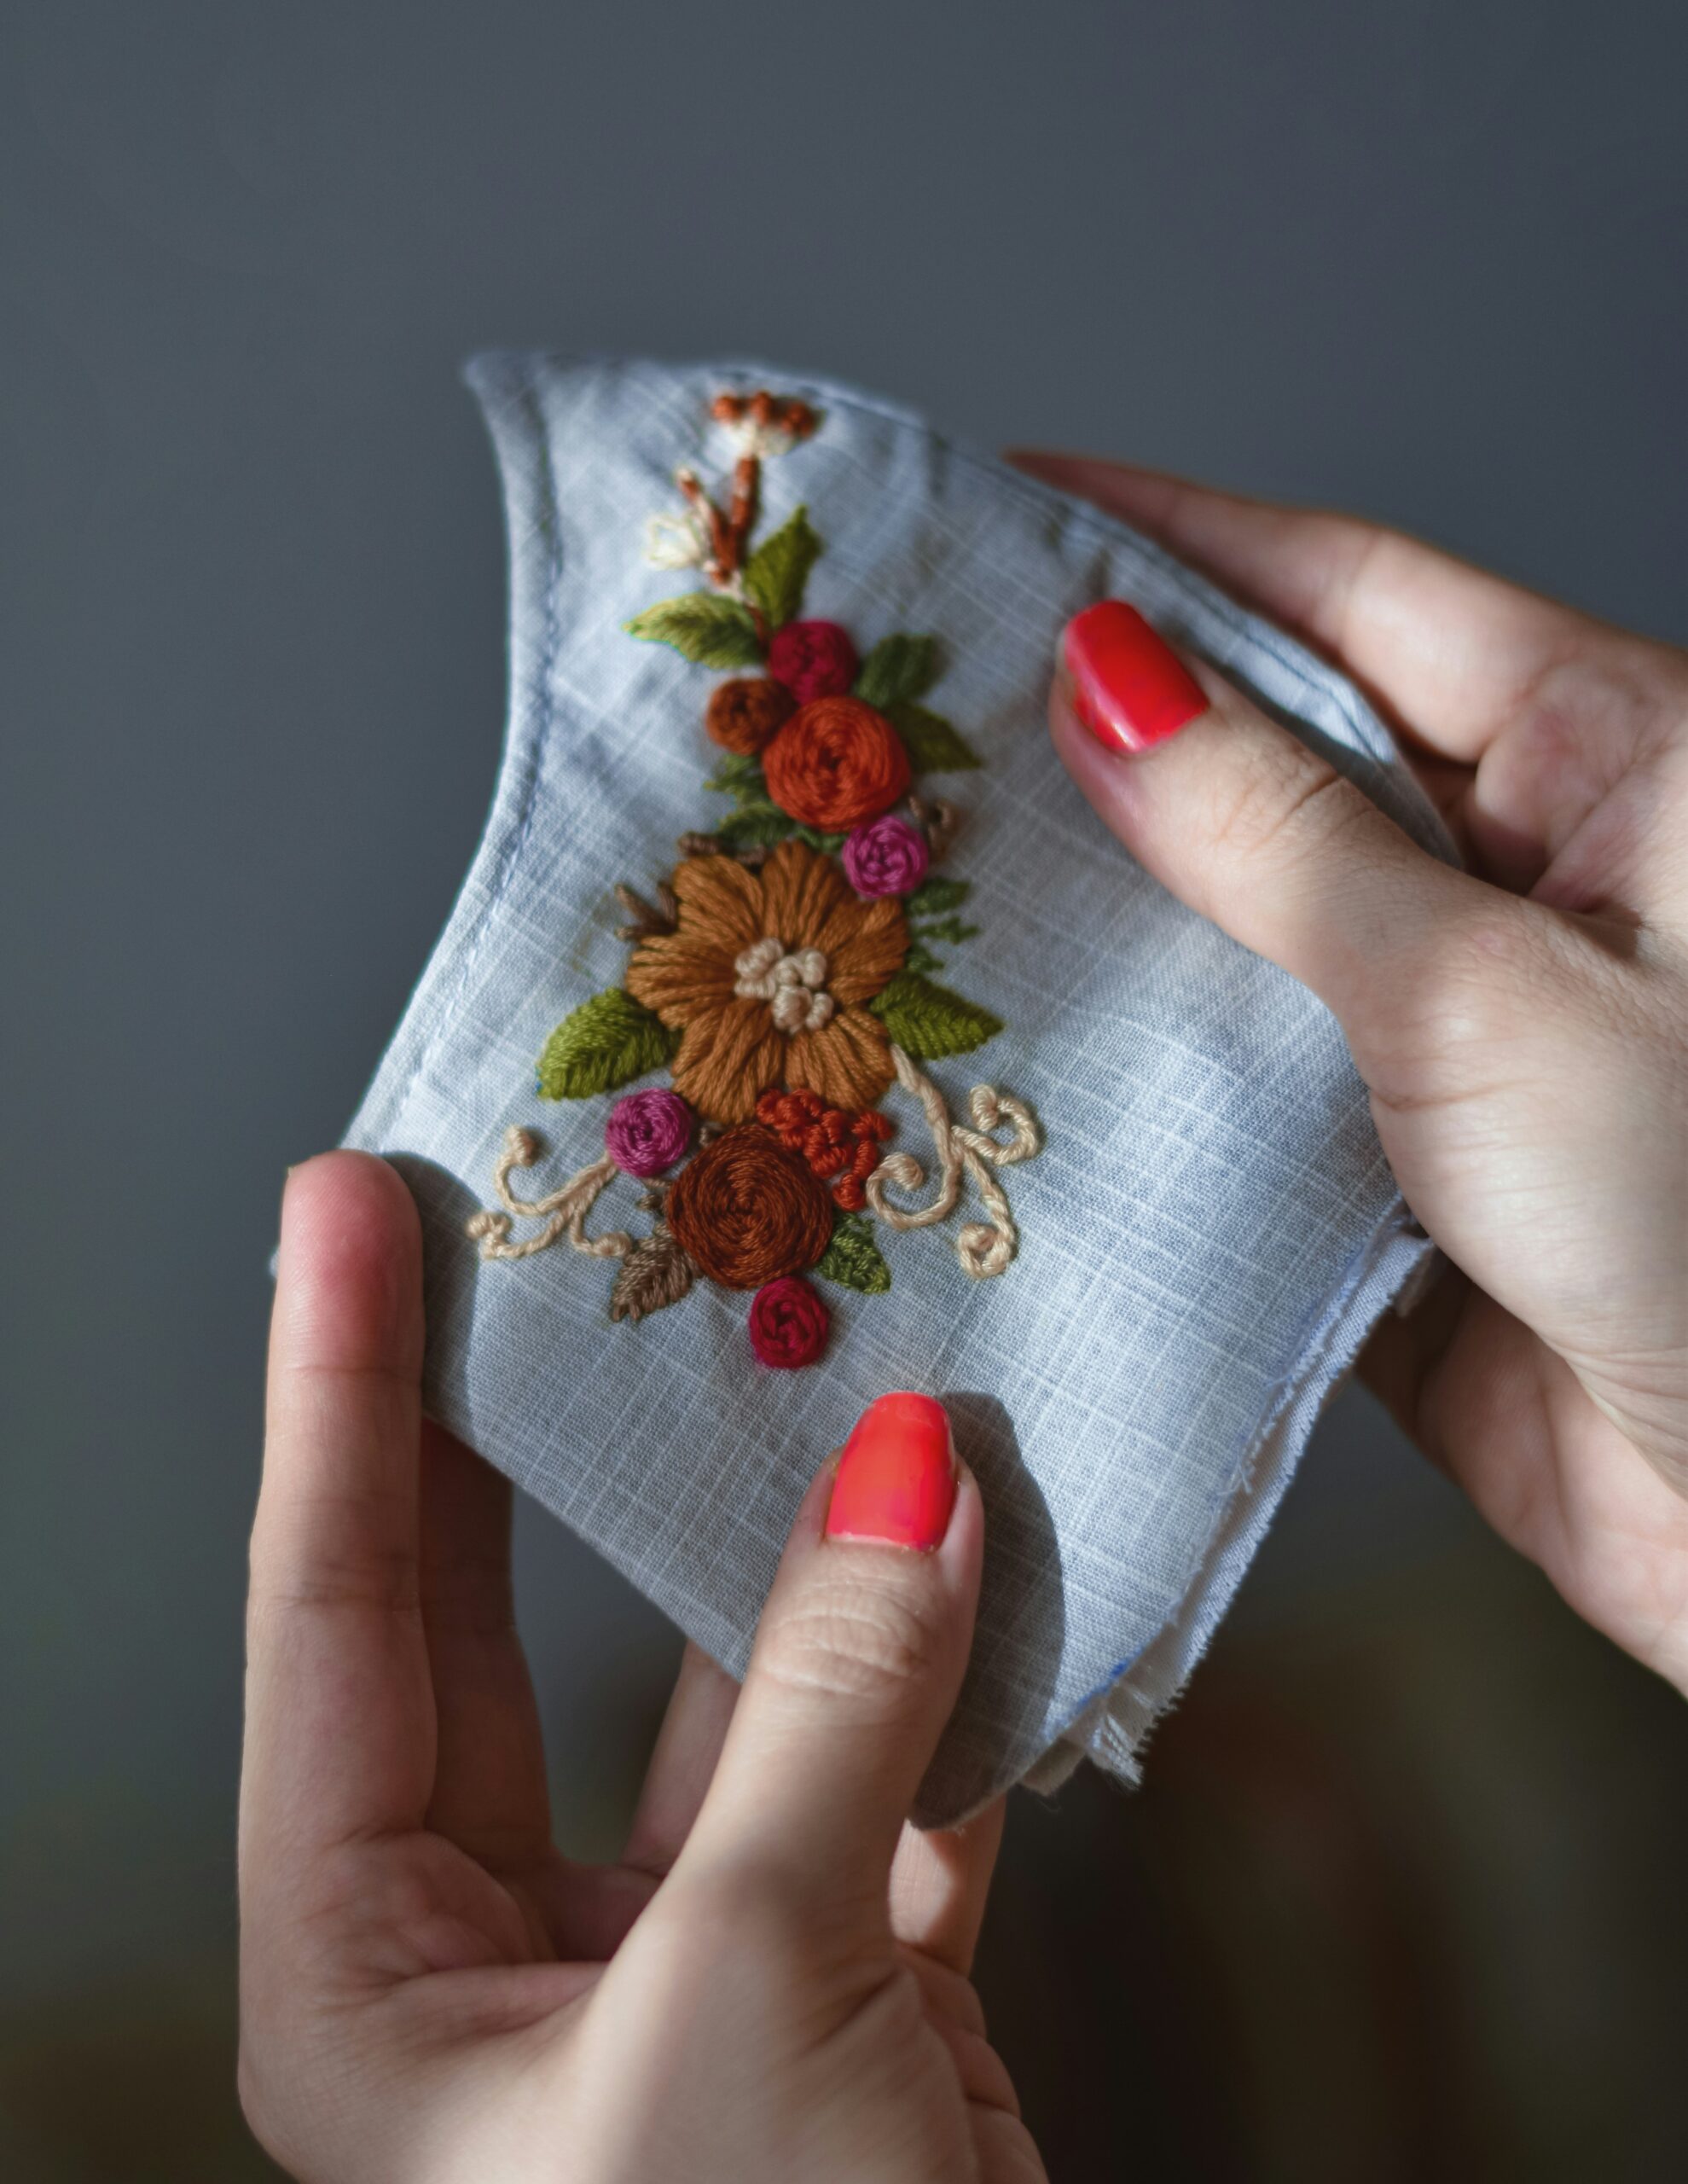
Top 5 Mistakes to Avoid When Digitizing Logos for Embroidery; Embroidery digitizing is an art form that bridges creativity and technical precision. A well-digitized logo can elevate a brand’s identity, while a poorly executed file can lead to costly rework, damaged fabrics, and frustrated clients. At Gem Punch, we’ve spent years perfecting the craft of embroidery digitizing, and we’ve seen firsthand how common mistakes can derail even the most beautiful designs.
Whether you’re a business owner ordering custom patches or a designer venturing into embroidery, here are the “top 5 mistakes to avoid” when digitizing logos—and how to fix them like a pro.
- Ignoring Fabric and Garment Type
The Mistake: Using the same digitizing settings for every fabric. A logo stitched on a thick denim jacket won’t translate well to a delicate polo shirt if the stitch density or underlay isn’t adjusted.
Why It Matters: Different materials behave differently under thread tension. For example:
Stiff fabrics: (like canvas or leather) require tighter stitches to prevent gaps.
Stretchy fabrics: (like jersey or performance wear) need looser stitches to avoid puckering.
The Fix:
Always ask about the ‘garment type’ before digitizing.
Adjust stitch density: Use ‘lower density’ for lightweight fabrics and ‘higher density’ for heavy-duty materials.
Incorporate ‘stabilizers’ in your design plan for stretchy fabrics.
- Overcomplicating Small Details
The Mistake: Trying to replicate every tiny detail of a complex logo, such as ultra-thin lines or intricate gradients.
Why It Matters: Embroidery has physical limitations. Tiny text or overly detailed elements can:
Clump together, creating a messy, unreadable design.
Cause thread breaks or needle damage.
The Fix:
Simplify the design: Remove elements smaller than ‘3mm’ (e.g., hairline strokes, micro-text).
Use ‘block letters’ instead of serif fonts for text under 10mm.
For gradients, opt for ‘color blocking’ or halftone effects instead of stitch shading.
- Skipping the Underlay Stitches
The Mistake: Jumping straight into the top stitching without a proper underlay.
Why It Matters: Underlay stitches act as the ‘foundation’ of your embroidery. They:
Stabilize the fabric.
Prevent distortion during stitching.
Improve the longevity of the design.
The Fix:
Always use underlay stitches, especially for designs on stretchy or textured fabrics.
Choose the ‘right underlay type’:
‘Tatami’ for large fill areas.
‘Zigzag’ for outlines and text.
‘Edge Run’ to secure fabric edges.
- Neglecting Pull Compensation
The Mistake: Forgetting to account for thread pull, which causes shapes like circles to appear oval or letters to look distorted.
Why It Matters: Embroidery thread naturally “pulls” the fabric as stitches are layered, leading to misalignment.
The Fix:
Enable ‘pull compensation’ in your digitizing software.
Manually adjust shapes:
Stretch circular designs horizontally by ‘10-15%’.
Widen vertical elements slightly to counteract thread tension.
Test the design on a ‘similar fabric scrap’ before finalizing.
- Using the Wrong Stitch Types
The Mistake: Applying a single stitch type (e.g., satin stitches) to every part of the design.
Why It Matters: Different stitch types serve different purposes:
Satin Stitches: Ideal for borders and text (creates a smooth, glossy finish).
Fill Stitches: Best for large, solid areas (prevents thread buildup).
Running Stitches: Perfect for fine details and outlines.
The Fix:
Break the design into sections and assign stitch types strategically.
Example: Use ‘fill stitches’ for the background of a logo and ‘satin stitches’ for the text.
Bonus Tip: Always Test Before Production!
Even seasoned digitizers test their files. Run a sample on the ‘exact fabric’ your client will use. Look for:
Thread tension issues.
Misaligned elements.
Color bleed (especially on dark fabrics).
Why Partner with Gem Punch?
At Gem Punch, we’ve mastered the science of embroidery digitizing to deliver flawless results every time. Our team:
- Analyzes your logo’s ‘complexity, colors, and intended use’.
- Optimizes stitch types, density, and underlay for your ‘specific fabric’.
- Provides a ‘free file preview’ to ensure perfection before stitching.
Ready to Transform Your Logo into Embroidery Art?
Avoid these mistakes and trust the experts at Gem Punch to handle your digitizing needs. Get a Free Quote today—or explore our Embroidery Digitizing Services to learn how we turn complex designs into stitch-perfect reality.
Frequently Asked Questions
- How long does logo digitizing take?
At Gem Punch, most standard designs are digitized within 24–48 hours, depending on complexity. Intricate designs (e.g., photorealistic patches or multi-layered 3D puff) may take slightly longer.
- What factors affect the cost of digitizing?
Pricing depends on:
Design complexity (e.g., number of colors, stitch types, and details).
Garment type (e.g., digitizing for towels requires specialized stitch settings).
Size (larger designs often require more stitches).
We offer transparent pricing and free quotes—no hidden fees.
- Can you fix a poorly digitized file from another vendor?
Absolutely! We regularly troubleshoot files with issues like puckering, thread breaks, or misalignment. Send us your file, and we’ll diagnose the problem (e.g., incorrect pull compensation or missing underlay) and re-digitize it for flawless stitching.
- What file formats do you need to digitize my logo?
We accept vector files (AI, EPS, PDF) for the best results. If you only have a raster image (JPG, PNG), we can convert it—but note that low-resolution images may require manual adjustments.
- Do you offer revisions if the design doesn’t stitch well?
Yes! We provide unlimited free revisions until you’re 100% satisfied. After testing the design, if you notice issues like gaps or misalignment, we’ll tweak the file at no extra cost. Your perfect stitch is our priority.